You saw how Excel, Office 365, and SharePoint empowers your team to deliver reports online in this post. That example used a pivot table to report on the status of Contract Lifecycle Management Tasks as they relate to a Sales Contract stage. Now, we’ll see how to targets the Sales Contracts document library to produce a visual and interactive report using Microsoft Excel Slicers and Conditional Formatting for the Contract Lifecycle Management (CLM) system.
Export the SharePoint Sales Contract Library to Microsoft Excel
You can see a video of how to export content from SharePoint to Excel in the Office 365 and SharePoint – Sales Contract Lifeycle Management (CLM) – Reporting with Microsoft Excel post. Afterwards,
- Navigate to the Sales Contracts document library.
- Click the “Export to Excel” button
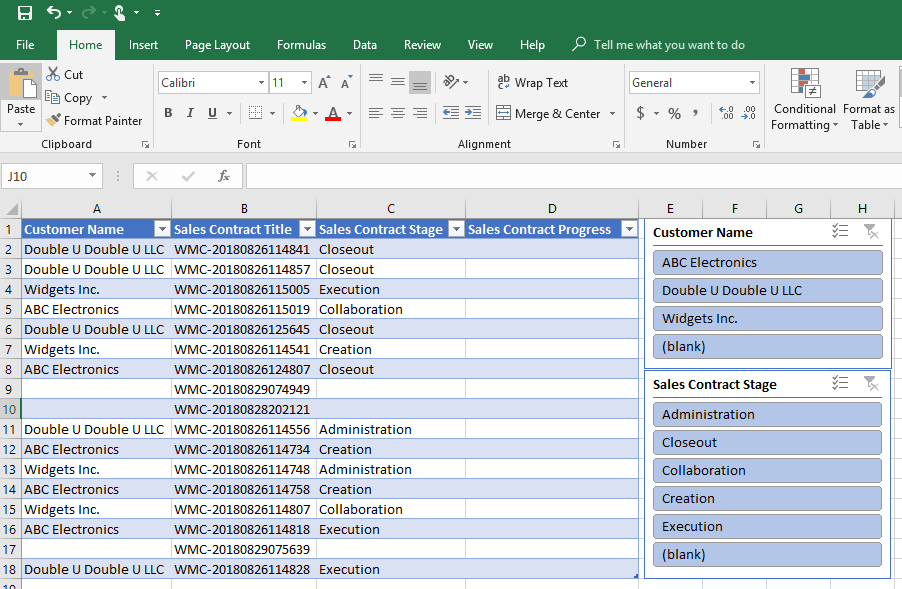
- After Microsoft Excel opens, trim your columns down to: Customer Name, Sales Contract Title, and Sales Contract Stage

Add the Microsoft Excel Slicers
With the above completed:
- Select cell A1 (any cell in the table is fine).
- Click “Insert Slicer” in the Table Tools > Design tab.
- Choose “Customer Name” and “Sales Contract Stage” from the “Insert Slicers” dialogue.

Next, add a new column to the right of Sales Contract Stage named “Sales Contract Progress”. Then, utilize this to render our conditional formatting.
Adjust the slicers on the Microsoft Excel worksheet to your liking, for example:
Add Excel Conditional Formatting Against CLM Sales Contract Stage
Moving on, here is the formula to apply to the Sales Contract Progress column:
=IF($C2="Creation",0,IF($C2="Collaboration",25,IF($C2="Execution",50,IF($C2="Administration",75,IF($C2="Closeout",100,0)))))
Click into cell D2, and write out the formula above. After you press the <Enter> key, the formula should cascade down into the remaining cells in column D, giving you:

- Click the heading for column ‘D’.
- Navigate to the Home tab in the ribbon.
- Use Conditional Formatting to enter the appropriate color scale, icon set, data bar…whatever your team wants
- Save the Microsoft Excel workbook

View the Report in Office 365 SharePoint on the Contract Lifecycle Management (CLM) Site
You should have completed the work in Office 365 and SharePoint – Contract Lifecycle Management (CLM) – Reporting with Microsoft Excel post.
As a result, you will already have the “Sales Report Workbooks” document library and the “Visual Reports” page created. That blog also explains how to add and configure the Microsoft Excel Web Access web part on your page in SharePoint.
- Upload your new Microsoft Excel workbook to the Sales Report Workbooks; after that,
- Add the Workbook to your Visual Reports page.

Another quick win with Microsoft Excel to deliver a powerful, intuitive, interactive, and meaningful report in Office 365 and SharePoint using Excel Slicers and Conditional Formatting.
Categories: Business, Business Management, Contract Lifecycle Management, Microsoft Excel, Office 365 and O365, SharePoint
Leave a Reply